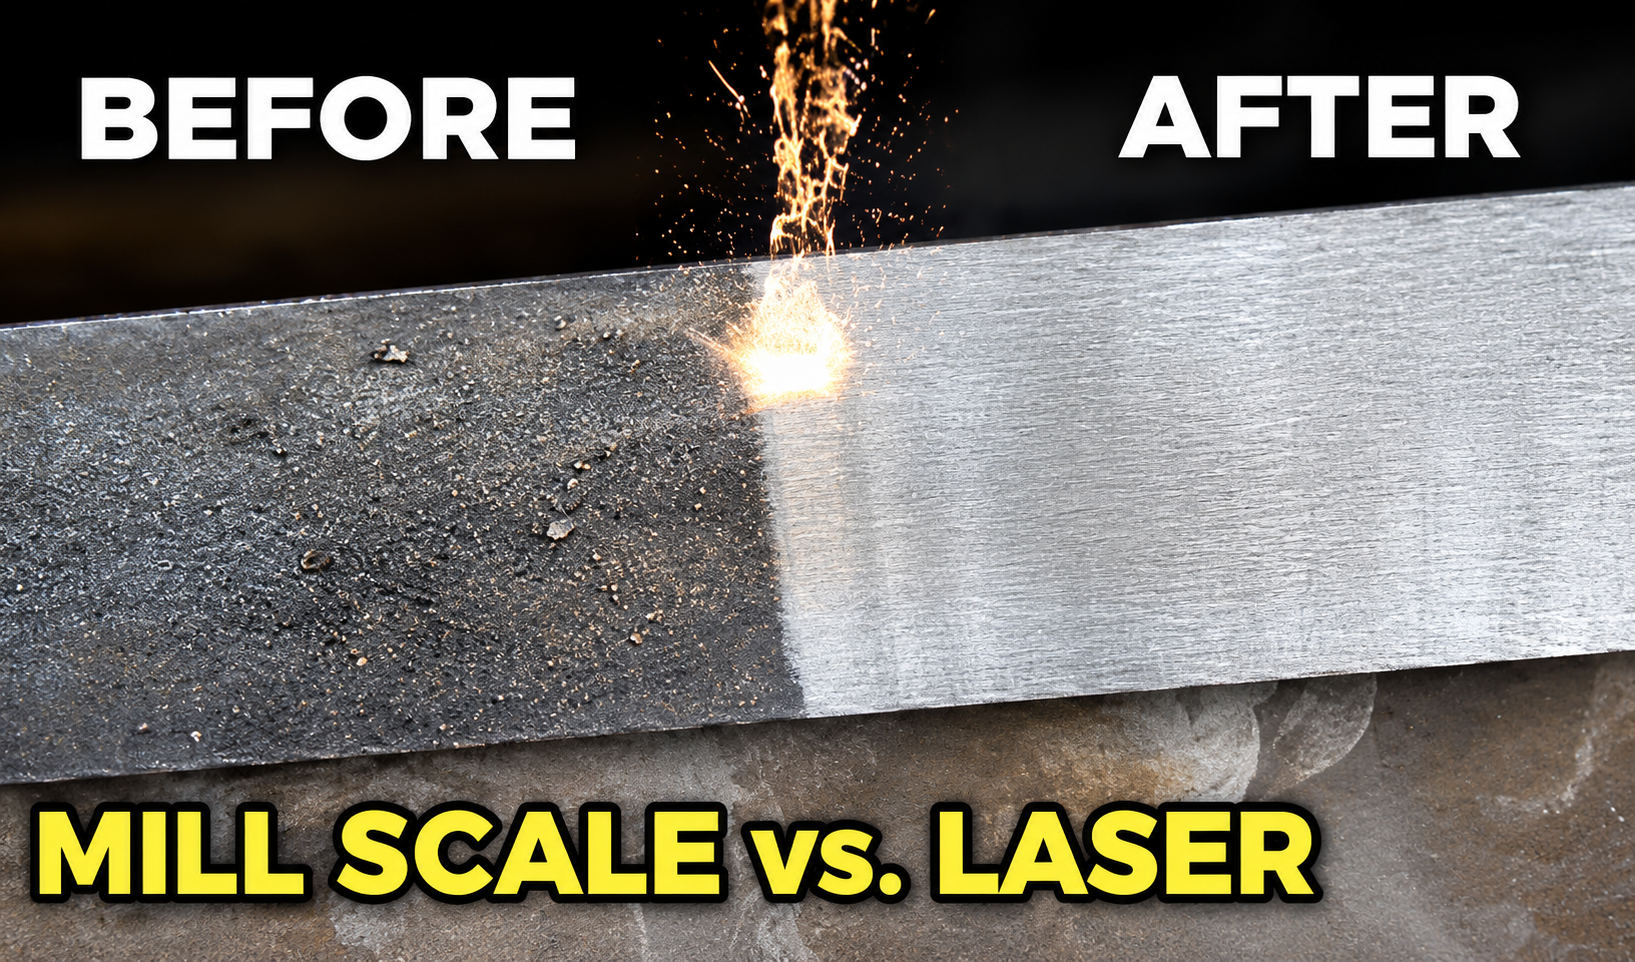
If your laser cleaner is not removing rust effectively, the problem may be insufficient energy at the surface, incorrect scanning settings, poor focus, uneven coverage, or rust that is too thick for the selected cleaning process.
A laser cleaning machine can appear to operate normally while leaving orange rust, dark oxide, or uneven patches on the metal.
For industrial users, this is frustrating. You may have already tried increasing the power or repeating the cleaning process without getting the expected result.
However, more power is not always the solution. Excessive laser exposure can discolor, roughen, or even damage the underlying metal.
The correct approach is to identify the cleaning problem before changing the settings.
This guide explains the most common reasons a laser cleaner fails to remove rust, how to troubleshoot poor cleaning results, and when the problem may be related to the machine's capabilities rather than its settings. If the machine is the limit, a fiber laser rust remover supplier can test your own sample before you upgrade.
Whether you use a pulsed or continuous-wave laser rust removal machine, the goal is to achieve consistent rust removal without unnecessarily damaging the metal.
1. Why Is Your Laser Cleaner Not Removing Rust?
The first step is to identify exactly what is happening during cleaning.
A machine that removes some rust but leaves dark residue has a different problem from one that suddenly stops cleaning a surface it previously handled successfully.
The visible result often provides useful clues.
Common Laser Rust Removal Problems
What You See | Possible Cause | What to Check First |
|---|---|---|
Rust barely changes | Insufficient effective energy or incorrect focus | Settings, working distance, laser mode |
Rust fades but remains | Thick oxide or insufficient exposure | Rust condition, scan coverage, number of passes |
Alternating clean and rusty stripes | Incomplete scan overlap | Scan pattern, line spacing, working movement |
Some areas clean, others do not | Uneven rust thickness or working distance | Surface geometry, focus, contamination |
Metal turns dark or black | Residual oxide, re-oxidation, or surface alteration | Total exposure and surface condition |
Cleaning suddenly becomes weaker | Changed settings or possible equipment fault | Known-good test, alarms, output condition |
These are possible explanations, not definitive diagnoses.
For example, a dark surface after laser cleaning does not always mean rust remains. It may be a newly formed oxide layer or a change in surface appearance caused by excessive treatment.
Likewise, an uneven result may be caused by variable rust thickness rather than insufficient laser power.
Start by Checking What Changed
Before adjusting the equipment, ask three questions.
Did the machine clean this type of rust successfully before?
If yes, compare the current conditions with the last successful job.
Does the problem occur on every part or only on certain surfaces?
If only heavily corroded parts produce poor results, the contamination may be the main issue.
Does a second cleaning pass improve the result?
If additional controlled passes remove more rust, the process may be delivering insufficient energy or coverage during the first pass.
However, if additional passes only darken or roughen the metal, stop increasing exposure and reassess the cause.
The most useful troubleshooting method is to isolate one factor at a time.
2. Which Laser Cleaning Settings Should You Adjust First?
Incorrect cleaning settings are a common reason rust remains on a metal surface.
However, the correct parameters depend on the laser technology, rust condition, material, and cleaning head.
There is no universal power, frequency, or scan-speed setting that works for every laser cleaner.
Scan Speed and Cleaning Coverage
If your machine removes light rust but leaves contamination behind on heavier areas, the surface may not be receiving enough effective laser exposure.
Scan speed and cleaning width are important factors.
At a given laser output and scan pattern, excessive scanning speed can reduce the energy delivered to a particular area.
A very wide cleaning pattern may also spread the available energy over more surface area.
For stubborn rust, a narrower cleaning width or a controlled additional pass may improve removal.
However, reducing speed too much can increase heat accumulation and damage the metal.
A better approach is to make small, controlled adjustments and inspect the result.
Also distinguish between the scanning speed of the laser beam and the speed at which the operator moves the cleaning head. Both can affect coverage, but they are not the same setting.
Pulse Frequency and Energy
For pulsed laser cleaning, pulse frequency and pulse energy influence how the laser interacts with the rust layer.
Increasing pulse frequency does not automatically make cleaning more effective.
On some systems, a higher frequency reduces the energy available per pulse at a given average power. On other systems, the relationship is affected by the laser source and control settings.
This means a frequency adjustment that improves light oxidation removal may not produce the same result on thick rust.
Pulse width can also affect the interaction between the laser and the contamination.
When using a pulsed laser cleaner, begin with the settings your pulsed laser cleaning machine manufacturer recommends for the material and contamination.
Then evaluate the result before adjusting pulse frequency, energy, or width.
Avoid copying settings from another machine simply because both systems have the same advertised wattage.
Focus Distance and Scan Overlap
Focus distance affects the energy distribution at the surface.
If the cleaning head is outside its recommended working-distance range, the laser may not deliver the intended energy density.
This can result in weak cleaning, inconsistent removal, or unnecessary heating.
Check the working distance against the manufacturer's specifications rather than using a generic focal-distance value.
Scan overlap is equally important.
If adjacent scan lines are too far apart, thin strips of rust may remain between cleaned areas.
If overlap is excessive, repeated exposure may cause discoloration or surface damage.
The correct settings should remove the contamination while preserving the required condition of the underlying material.

3. What Do Common Rust Removal Failures Look Like?
Understanding typical cleaning problems can make troubleshooting much easier.
The following examples show how to connect the visible result to a practical solution. The first example is an illustrative workshop scenario; the others reflect problems investigated in published research on corroded steel.
Example 1: A Steel Plate Has Rusty Stripes After Cleaning
Consider a carbon steel plate covered with relatively light orange rust.
The laser removes most of the contamination, but the finished surface contains alternating clean and rusty lines.
This pattern suggests that the cleaning path may not be covering the entire area evenly.
The problem is not necessarily insufficient laser power.
What to check: Review the scan width, line spacing, working distance, and the operator's movement across the plate.
If the scan pattern leaves gaps, adjust the coverage according to the equipment's operating guidance.
Then clean a small test area again and compare the result.
A controlled second pass may help remove remaining contamination, provided the substrate shows no unwanted surface changes.
The important lesson is that uneven coverage should be investigated before increasing power.
Example 2: Thick Rust and Oil on Industrial Machinery
Industrial components sometimes contain several layers of contamination.
A corroded machinery part may have thick oxidation, old oil, grease, and other deposits on the same surface.
Research on oxidized Q345 mining machinery steel has shown that heavy oxide layers combined with organic contamination can make laser cleaning more difficult.
This is different from removing a thin layer of surface rust from a clean steel plate.
If the rust is covered with oil or grease, increasing laser energy may not produce an acceptable finish.
Organic material can heat, decompose, or leave additional residue.
What to do: Identify the contamination before continuing. Where appropriate, use a compatible preliminary degreasing process and allow the surface to dry.
For loose, thick scale, mechanical removal of the outer deposits may be appropriate before laser cleaning, provided the workpiece specification permits it.
Then test the laser on a representative area to determine whether the remaining oxidation can be removed without damaging the base metal.
Do not assume that a machine performing well on light rust will remove thick, layered corrosion at the same rate.
Example 3: Rust Disappears but the Metal Turns Black
Another common complaint is that the laser appears to remove rust, but the treated surface becomes darker.
Some operators respond by repeatedly scanning the same area at higher energy.
That can make the problem worse.
Laser treatment may leave residual oxides, create new oxide layers, or change the metal surface when exposure becomes excessive.
A published 2024 study on rusted 20 steel demonstrated this problem: lower tested energy densities left rust behind, an intermediate condition removed the rust without observed substrate damage, and a higher condition damaged the metal.
The findings illustrate why there is a useful processing range between insufficient cleaning and excessive treatment.
What to do: Stop repeated exposure if the surface begins darkening unexpectedly.
Compare the treated area with an untreated sample, inspect for roughness or melting, and determine whether the dark appearance represents remaining contamination or a changed substrate.
For components requiring painting, welding, or precision assembly, visual appearance alone may not be enough to confirm cleanliness. If surface integrity matters, choose a laser cleaning machine supplier that can document safe parameter windows for your substrate.

4. When Is the Rust Too Heavy for Your Laser Cleaner?
Sometimes the settings are not the main problem.
The laser cleaner may simply be poorly matched to the thickness of the rust, the size of the workpiece, or the required cleaning speed. For heavy rust on large surfaces, a high-power CW laser cleaner supplier can offer the throughput you need.
This does not necessarily mean the equipment is defective.
Light Rust vs Heavy Corrosion
Light oxidation on a metal part generally requires less removal capacity than thick corrosion on structural steel.
A low-power pulsed laser may clean a small area of heavy rust eventually but take too long to be practical for an entire large component, so ask a laser cleaner supplier to size the machine to your workload.
Similarly, a high-power continuous-wave system may remove heavy corrosion efficiently from robust steel but require greater care on thin or heat-sensitive parts.
Pulsed vs CW Laser Cleaning for Rust Removal
Rust Removal Application | Equipment Worth Evaluating | Main Priority |
|---|---|---|
Light surface rust on small parts | 100–200W Pulsed | Controlled localized cleaning |
Rust on tools and precision components | 100–300W Pulsed | Surface condition and precision |
Repeated moderate rust removal | 300–500W Pulsed | Balance of control and productivity |
Heavy corrosion on thick steel | 1500–3000W CW | Higher-volume rust removal |
Large steel structures | High-power CW | Cleaning area and throughput |
These are application-selection starting points, not guaranteed equipment capabilities. Actual results must be confirmed on representative samples.
For example, LaserCleanerPro's pulsed equipment range includes 100W–500W configurations, while its high-power continuous-wave series is designed for heavier industrial rust removal.
If a 200W pulsed cleaner performs well on light surface rust but struggles with thick corrosion over a large steel structure, the issue may be cleaning capacity rather than incorrect settings.
A higher-capacity industrial laser cleaner may be worth evaluating when the workload regularly involves heavy, widespread corrosion.
However, do not replace the equipment before confirming that the current cleaning process is correctly configured. If a replacement is justified, compare each pulsed and continuous-wave laser cleaning machine supplier using your own samples.
When Should You Suspect an Equipment Problem?
If your machine suddenly becomes less effective on the same material, with the same settings and rust condition, investigate whether the delivered laser energy has changed.
Possible causes include protective-optic contamination, an incorrect working distance, active system alarms, or an output problem.
A useful distinction is whether the machine still performs normally on a known-good sample.
If it cleans the reference sample but not the current workpiece, focus on contamination and process conditions.
If it fails on both, check the displayed alarms and compare operating information with the guidance from your handheld laser cleaner supplier.
If the machine reports an optical, laser-source, cooling, or power-related fault, stop operation and contact qualified technical support.
Do not open the laser source, bypass interlocks, or attempt energized optical inspection.
Equipment troubleshooting should be the next step only after you have ruled out differences in rust, working distance, and cleaning parameters.

5. How Can You Verify the Fix Without Damaging Steel?
The most reliable way to solve poor rust removal is to run a controlled cleaning test.
The goal is not to find the most aggressive setting. It is to identify a repeatable condition that removes the required contamination without unacceptable changes to the metal.
Run a Controlled Rust Removal Test
Start with a small, representative area of the workpiece or a matching sample.
Use the manufacturer's approved operating range and keep the test conditions consistent.
A practical troubleshooting sequence is:
Record the current result. Photograph the rust, note the material and contamination, and record the current settings.
Check the setup. Confirm working distance, scan coverage, and any equipment alarms.
Change one parameter. Adjust a relevant variable within the approved range, then compare the result.
Inspect the surface. Look for remaining rust, blackening, roughness, or other unwanted changes.
Confirm repeatability. Repeat the successful condition on another representative area before adopting it for production.
Do not change laser power, pulse frequency, scan speed, and focus simultaneously.
Doing so makes it difficult to identify which adjustment produced the improvement.
How Do You Know the Rust Is Fully Removed?
A surface that looks brighter is not necessarily clean enough for its intended use.
The required finish depends on what happens after cleaning.
For general refurbishment, a visual assessment may be sufficient for some applications.
For painting, coating, welding, or bonding, the surface may need additional inspection for residual oxide, salts, contamination, or required roughness.
If the original metal has already been deeply pitted by corrosion, laser cleaning can remove suitable surface deposits but cannot restore the missing metal.
The objective should be to meet the actual surface specification, not simply make the part look polished.
When Should You Stop Testing?
Stop the test if the surface begins melting, developing unexpected pits, changing texture excessively, or showing signs of uncontrolled heating.
Also stop if the machine reports a fault or the laser output appears abnormal.
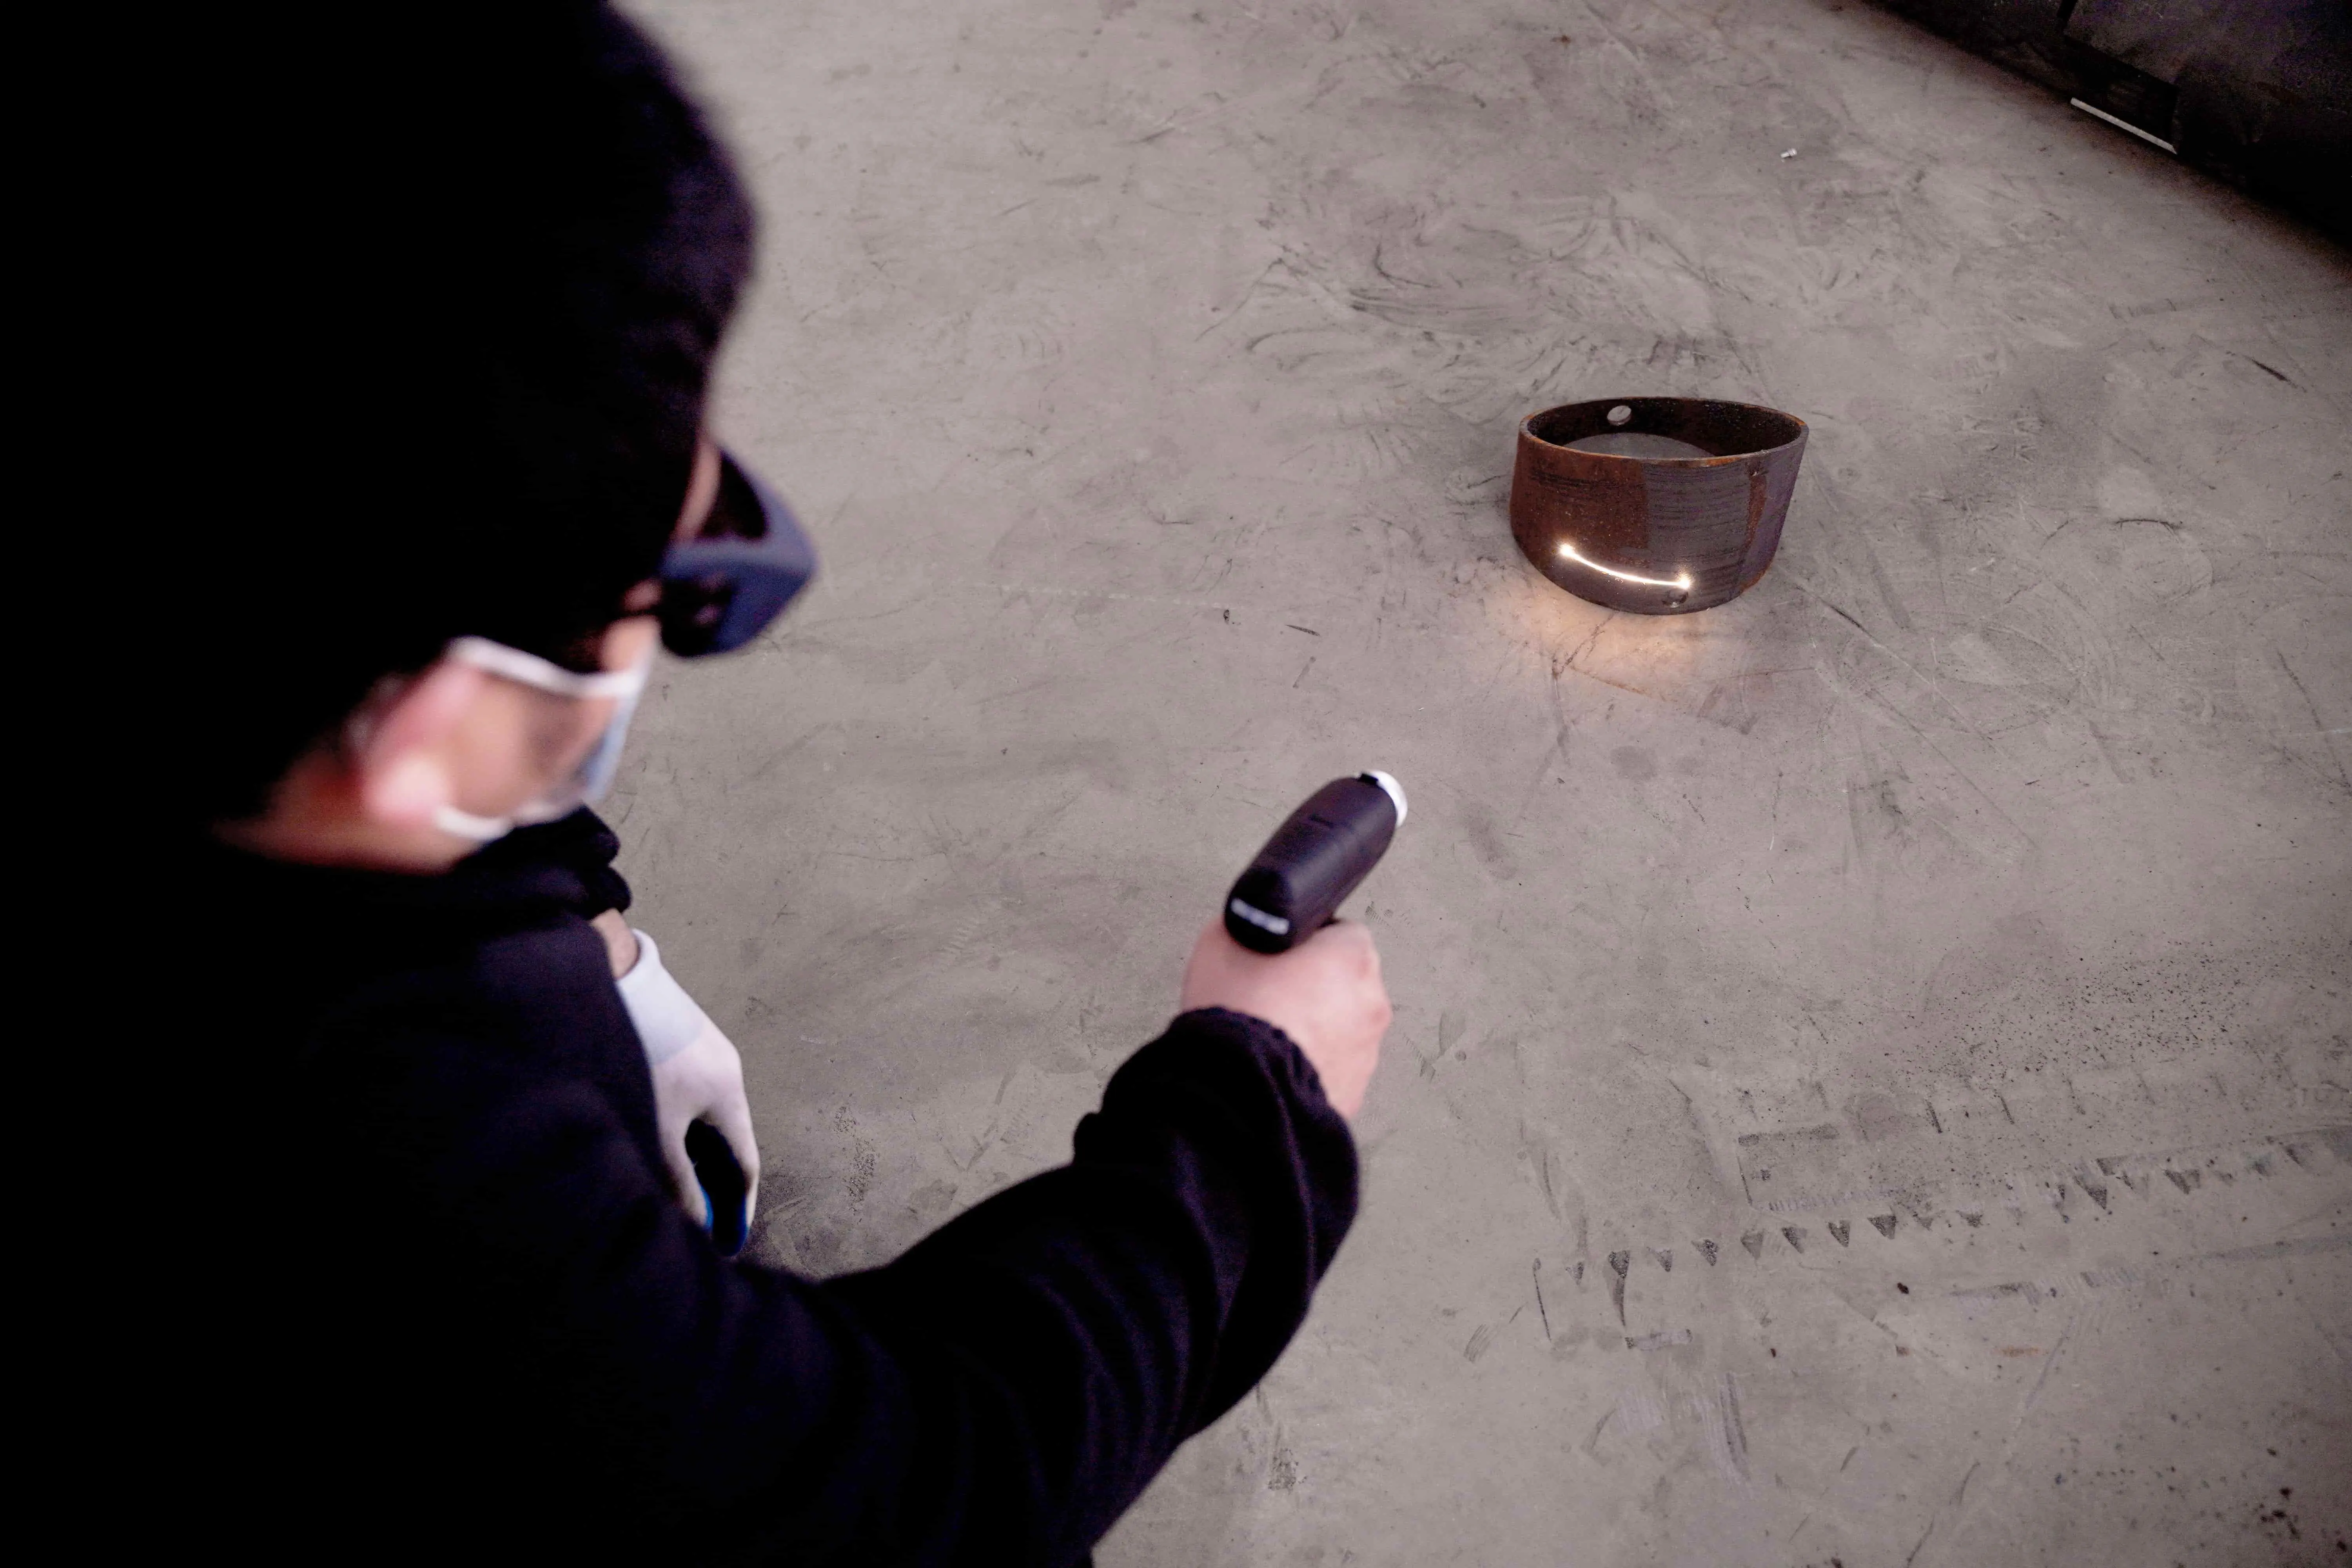
High-power laser cleaners can produce hazardous direct and reflected radiation, along with fumes and airborne particles.
All tests should take place under suitable Class 4 laser safety controls, including appropriate beam containment or a controlled area, trained operators, protective equipment, and effective fume extraction.
If suitable adjustments cannot remove the rust without damaging the material, further increases in exposure are not a reliable solution.
At that point, review whether the laser type, available pulse energy, cleaning width, or total cleaning capacity is appropriate for the application.
For industrial users comparing laser cleaning equipment, a representative sample test is the best way to determine whether a different configuration would improve the result.
Conclusion
When a laser cleaner is not removing rust, the most useful first step is to identify the cleaning failure rather than immediately increase laser power.
Insufficient energy at the surface, excessive scanning speed, poor focus, uneven overlap, thick corrosion, and mixed contamination can all prevent effective rust removal.
If the machine previously cleaned the same material successfully but now performs poorly under identical conditions, an equipment fault may also need investigation.
Start with a controlled test, adjust one variable at a time, and inspect the actual metal surface after cleaning.
For heavier corrosion, consider whether the cleaning process or machine capacity matches the workload.
Still struggling to remove rust effectively? Share your material, rust condition, current laser settings, and cleaning results with LaserCleanerPro. An application-specific review can help determine whether the problem is related to the cleaning process or whether a different laser cleaner configuration should be tested.